This guide outlines the initial steps required to setup the Neto Addon Example application. After completing this guide you will have connected your Neto webstore and be able to start syncing your data across.
Login to the Neto Addon Example
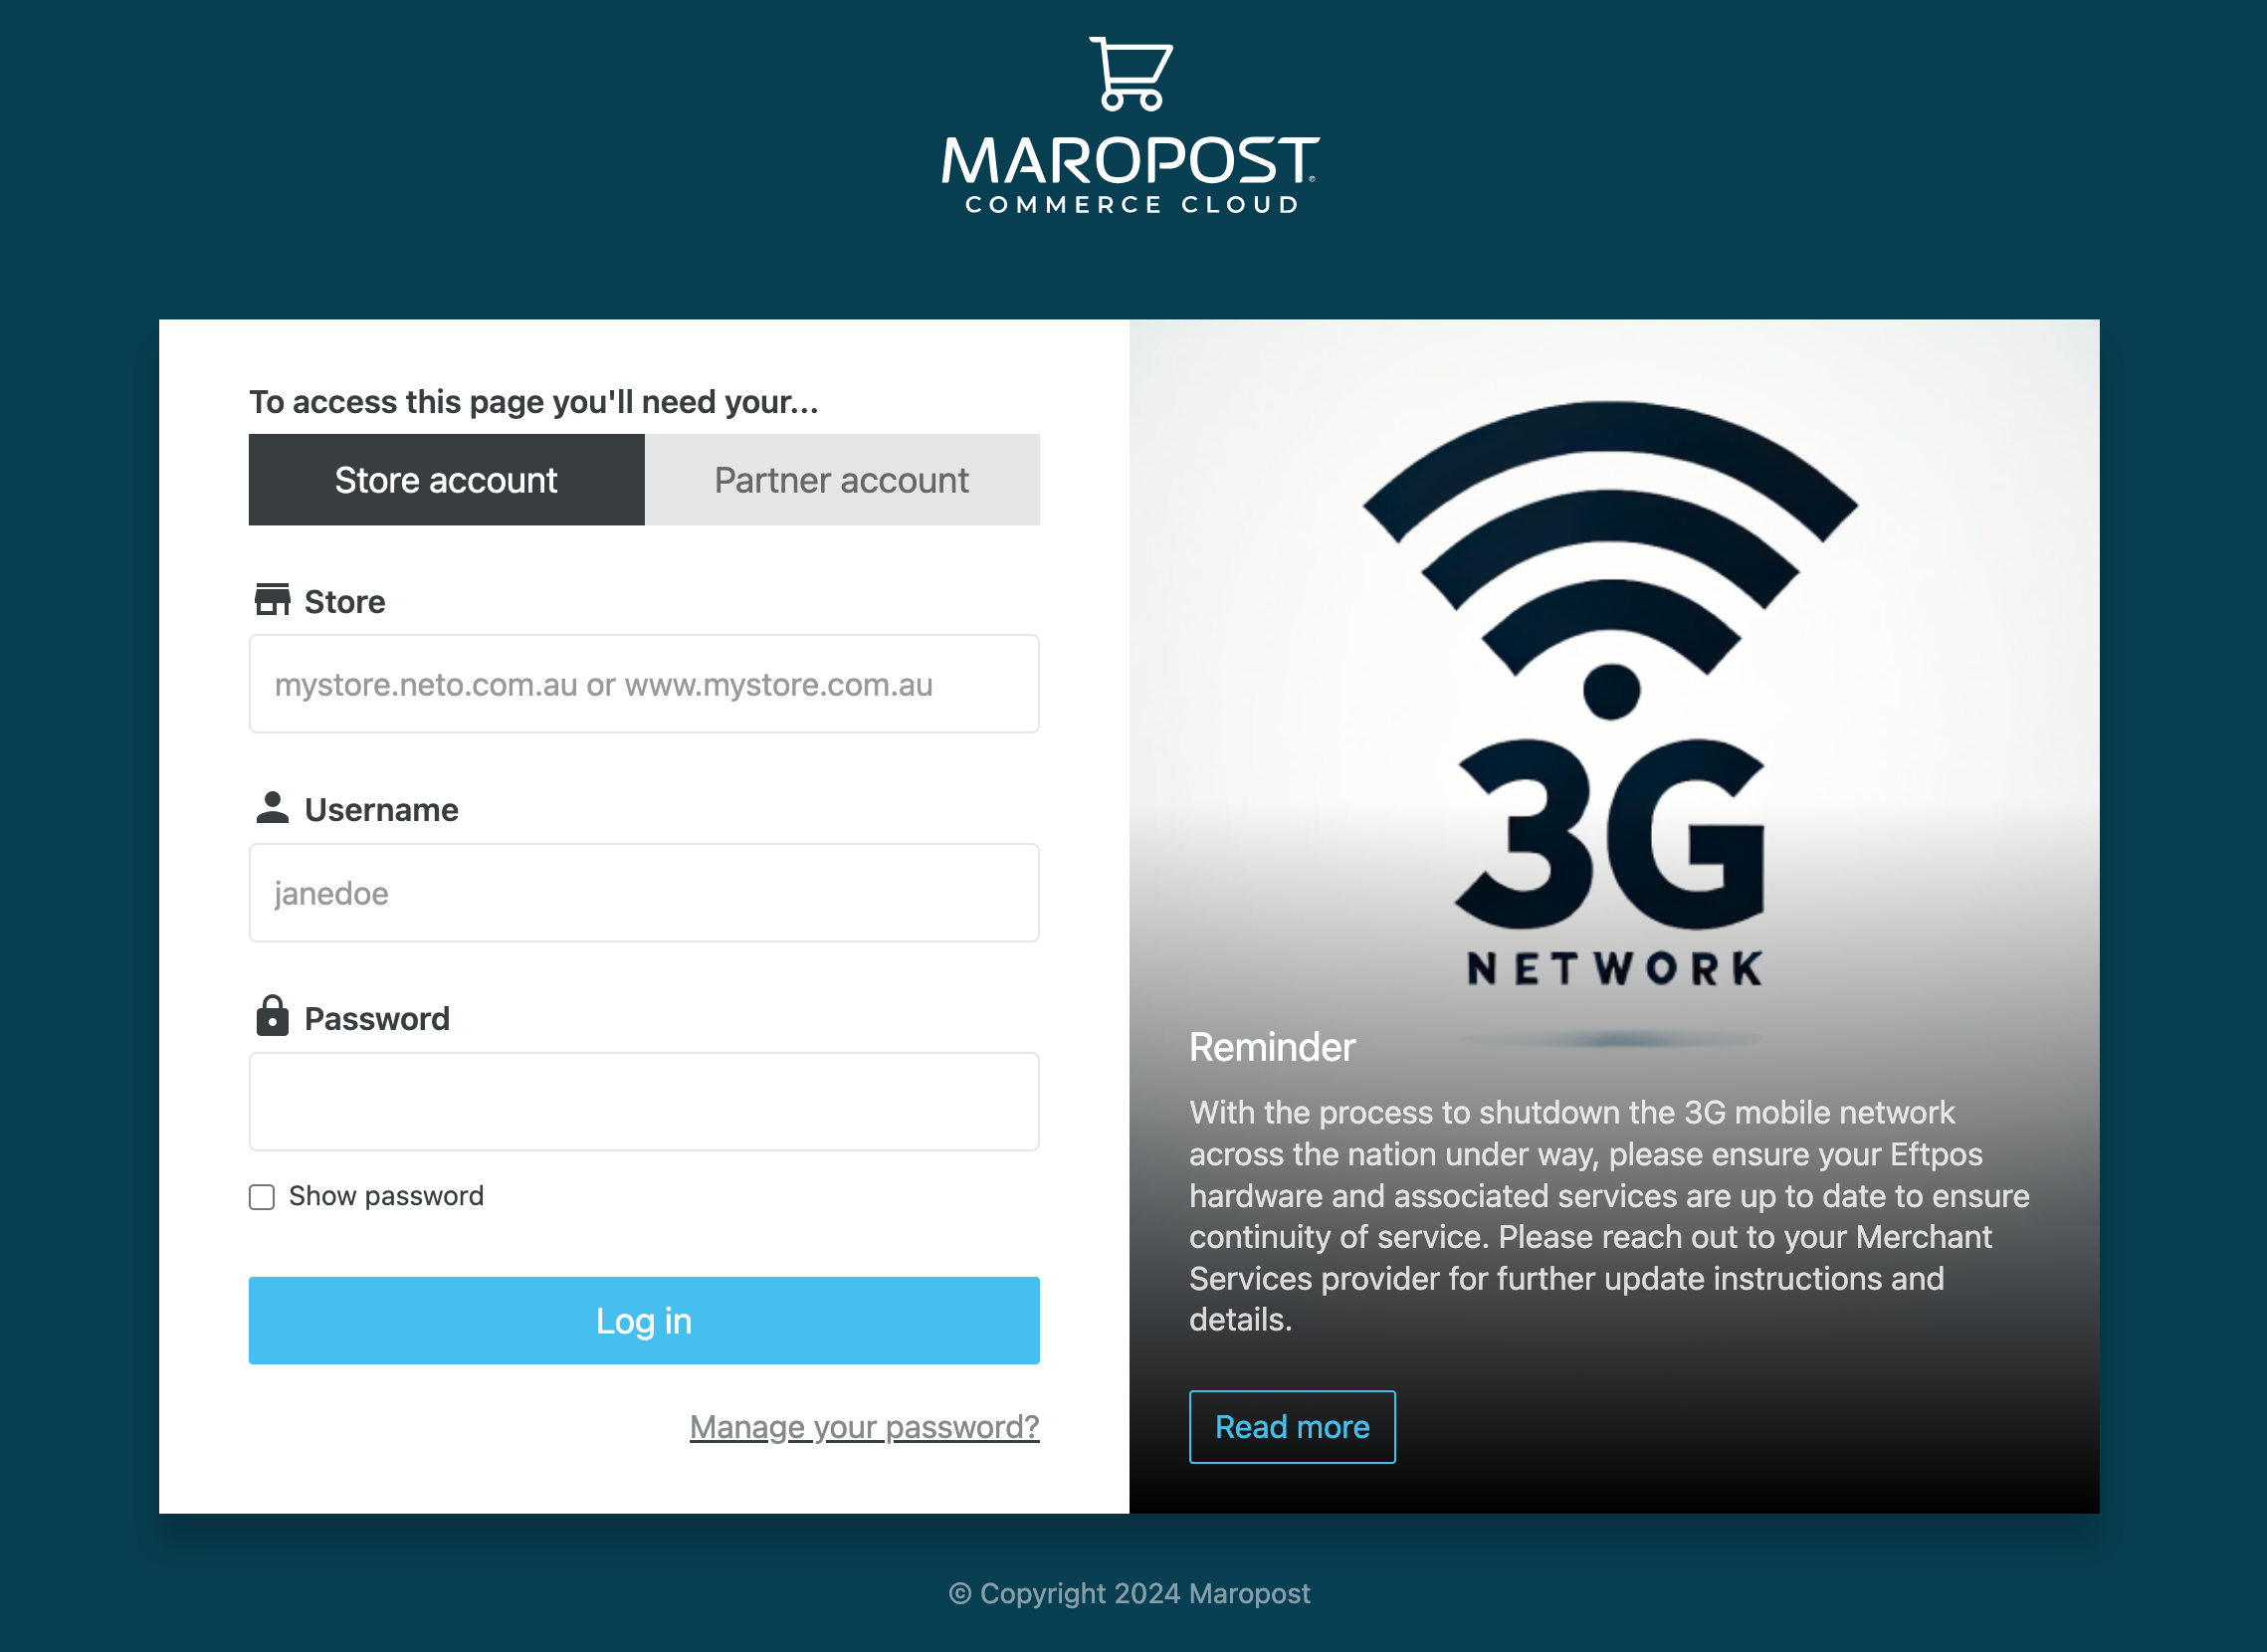
First things first, you will need to login so we can connected everything. You will need to provide your live Neto Webstore URL without the HTTP Protocol or any trailing slashes. For example if your webstore was located at: https://www.mywebstore.com.au/ you would enter: www.mywebstore.com.au when logging in.
Some other examples:
https://mywebstore.com/->mywebstore.comhttps://mywebstore.neto.com.au/->mywebstore.neto.com.auhttps://mywebstore.mymaropost.com/->mywebstore.mymaropost.com
Remember to enter your live Webstore URL, you will only have a .neto.com.au or .mymaropost.com URL if your webstore is still in staging
The Neto Addon Example uses your Neto credentials to create your account. If you are currently logged into your Neto Control Panel or the Neto Galaxy Support Hub your account will be created automatically and you will be logged in.
If you are not logged into Neto, a Login Portal will be displayed. Enter the same Webstore URL value you entered earlier, as well as your Neto Control Panel credentials.
Your account will then be created and you will be redirected back to the Neto Addon Example.
That's It!
You have now successfully connected the Neto Addon Example to your Neto Webstore. Continue working through the documentation to learn how to sync and start using your data.